Showing posts with label acrylic paint. Show all posts

Saturday, April 15, 2017

Easter Cards for Scrappingclearly!!

Hi and Happy Easter to you all! I am having a quiet time home with the kids! Hubby has gone camping, and we are just relaxing here together after a very long couple of weeks. I started a new job and have been working 2 jobs, up until my notice finished with my previous employer and I was totally exhausted!!! Some crafting time was much needed! So today I'm up on the Scrappingclearly blog with a Design Team post of some Easter Cards, made using some Fancy Pants- Golden Days papers and embellishments, and some cool Vicki Boutin products!!


I played along with the moodboard this month, which was a mix of Autumn tones!!


 No automatic alt text available.


I used the Art Crayons to colour my bird stamps, and they are great when mixed with water on a craft sheet. I flicked some paint drops onto one of my cards with a paint brush. I also used the Acrylic Paints to add some drops to my cards, the paints by Vicki Boutin are quite thick, love them!


I made a small tag, with some left overs and found a cute little bunny in the Golden Days ephemera pack.


Hope you can check out the moodboard over at Scrappingclearly this month and play along, there's also a sketch challenge to inspire you and you could win a voucher to the store!!!
Enjoy your Easter!!!


Sunday, February 26, 2017

Final Design Team Project for Off the Rails!!!

Well, I decided to make this my last project for Off the Rails! I have a few too many things on the go and just wanted to lessen my load a little. There's some very talented Designers over there, I hope you will go and check them out if you haven't visited before!!!

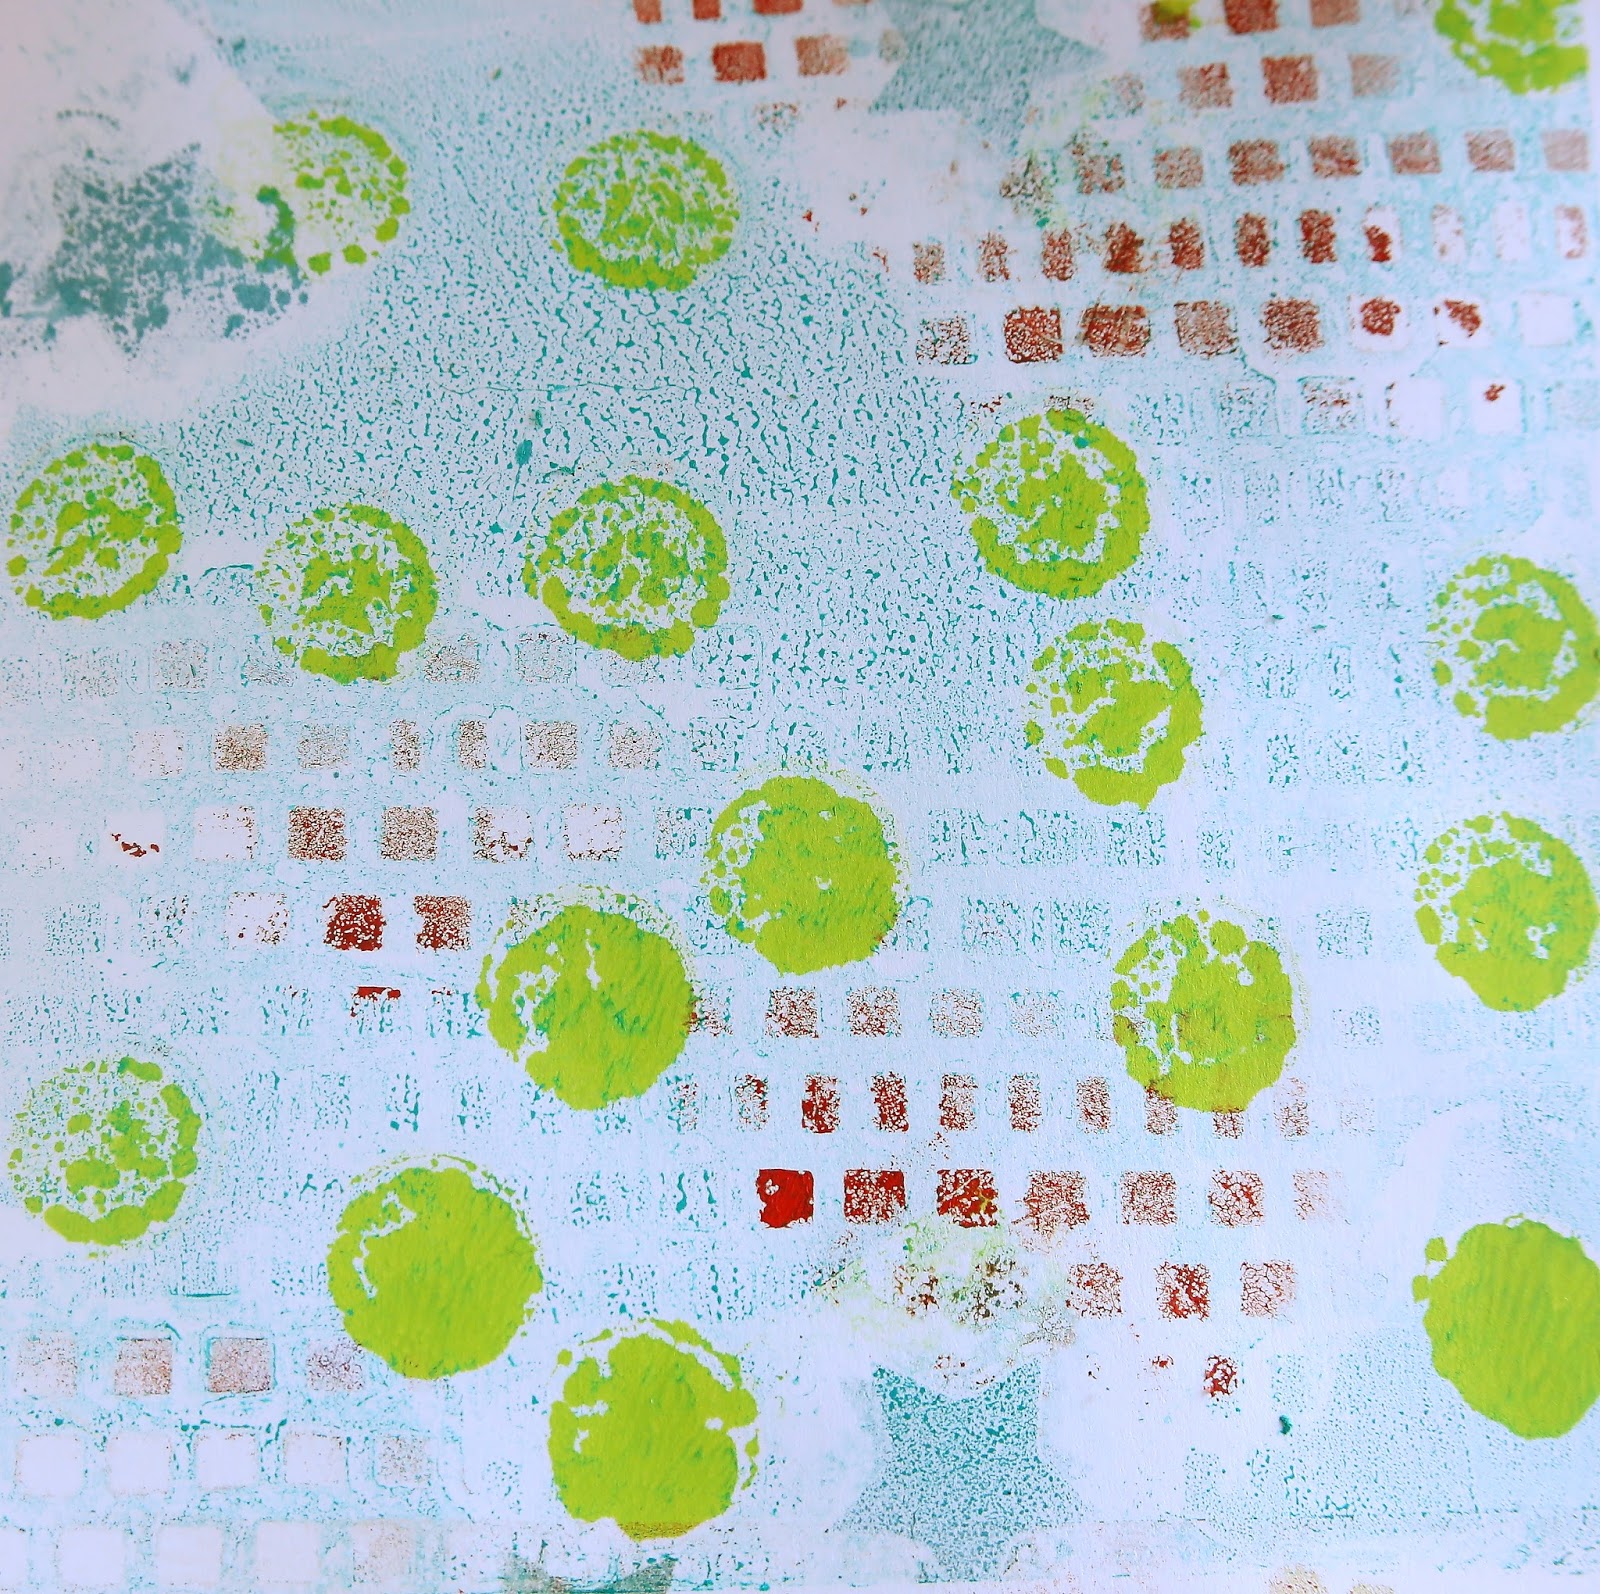
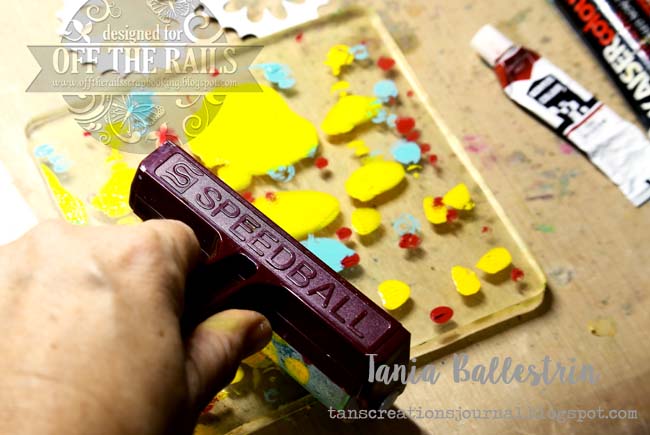
So for my tutorial this month, I decided to break out that Geli Plate that I purchased when in Adelaide before Christmas. It's something I have always wanted, but they are not cheap, so I had to wait a little bit!! Anyway, the possibilities are endless with these, although, it does take a little practice, working out which mediums work better!!!

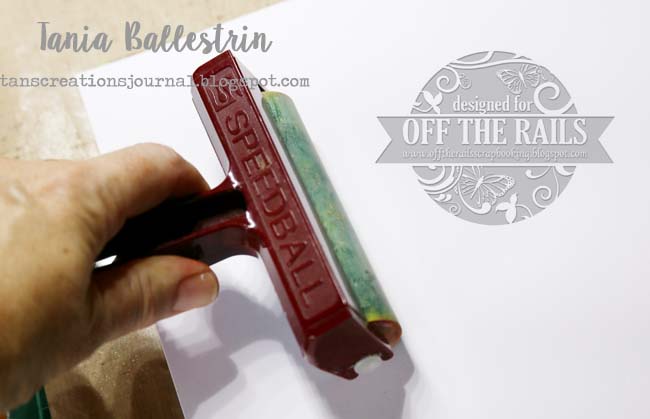
I used Acrylic paints for these backgrounds, along with some die duts, a stencil, bubble wrap and a brayer to apply!!!


For full details on step by step, head over to the OTR blog and find out! Here are some pics anyway!!!


And what I did with the backgrounds when I had finished was made some cards with them!!! The cards are made using all Kaszazz products, except for the Geli Plate!


Wednesday, September 28, 2016

Another Tag to satisfy my addiction!!

What better way to satisfy a crafty addiction, than be part of a swap group! This tag swap is through Scrappingclearly! I love having the excuse to make another tag, I just love working on a smaller than normal canvas. It's fun! Each month, our group is given a moodboard to inspire us for our tag. Here is the September one:


Conveniently, I had just purchased some African animal stamps from Kaszazz, and had this gorgeous Zebra stamp, I knew would have to go on my tag somewhere!


I started by adding some acrylic paint to a plain, white tag, by swiping, magenta and white with a sponge!

I then mixed some silver and white paint together to make a grey, and popped that through a Dusty Attic Stencil.

I used a small, leafy tree branch stamp, also from Kaszazz, and some Staz On ink for a little contrast around the edge.

I love using gauze in my projects, particularly tags. I coloured a piece with some Distress ink and water! Just a touch of Glossy Accents or similar glue and some fluffing about to adhere it to the bottom of the tag!


My finishing touches, are a few little RAKS I received from a friend, the lace flowers and gorgeous flower brads. I am a fan of the Tim Holtz word stickers , and they usually always get a look in on my tags!!

Lastly, I coloured the ribbon, with the Kaszazz alcohol ink Art Markers, they work a treat!!! (The stripes on the Zebra are also coloured with the Art Markers!!!

TFL, till next time,

Wednesday, February 3, 2016

More Scrappingclearly cybercrop pics

Hi, well as promised, I have the last couple of projects I completed for the Australia Day Cybercrop over at Scrappingclearly. This next one was called a Tic Tac Toe challenge! We had to pick a row in a tic tac toe board made up of shapes, then use those 3 shapes on our layout! I have to say, this is probably one of my New favourite layouts this year!!!!


The shapes I used were a love heart, (wood veneer), a rectangle, (paper strips, and speech bubble), and an arrow!!! The gorgeous papers by Webster's pages, made this layout come together so quickly and easily. Not to mention those beautiful crocheted doilies and flowers, which were sent to me in my pocket letter from the lovely Rikki Graziani, from Scrappingclearly!

The last layout was alot of fun, it was a blind crop, which means we were given a bunch of instructions and the materials needed, and we had to create a layout based on this information, I just love the way it turned out, and I loved seeing everyone's interpretations of the given criteria!
Check out the acrylic paint drizzled around the outside of the page, gosh, that was scary, but fun!!!!
I used my die cutting machine to create the star embellilshments, and some chipboard bits, and a bunch of scrap papers! Always good to stash bust the old papers!

Sunday, November 15, 2015

CSI COLOR STORIES INSPIRATION MAJOR CASE FILE NO 181

So, feel like I finally got my mojo back after a crazy 4 days in Adelaide. I was pretty exhausted when I returned and couldn't do alot. This Case file was a bit challenging for me at first,I had already put one kit together, and then decided it just wasn't working, so after a break and some different photos of my son being a dare devil, it all came together.
here is the Case file and the sketch for no. 181..


And here is my take on the Case File:


I have used some gorgoeus AUTHENTIQUE PAPERS, courtesy of the lovely Vicki from SCRAP MATRIX!!! From Kaszazz, I have used, cardstock, stamps, inks, Alcohol Ink Art markers, twine & metal slides. Other stamps used are Basic Grey, Papercraft & Kelly Purkey. Kaisercraft rub ons, Stickers & alphas-Authentique, thickers, Bella Cork alphas. & Collected & Co. Enamel dots and triangles from Francheville and Chickaniddy. There's also some washi tape & acrylic paint included!!!
Here's a few close ups!!! Love the look on Jack's face in the bottom pick. Shows the excitement for sure!


Sunday, May 17, 2015

Kaszazz Team Training Day

Had a fab day today with some fellow Kaszazz Consultants for Team Training Day. My challenge entry came 1st, so I'm more than happy about that. I did a Project Life spread , with some of my hand-made PL cards, inspired by a class I took at Big Picture Classes. Here's my page:


I made the Project Life cards using a stencil and some Matte Gel medium and gesso mixed with acrylic paints. Then sprayed some Dylusions through the stencil for another layer. Here's the cards up close.


Monday, March 30, 2015

Challenge Day for me....ANOTHER FREAKING SCRAPPY CHALLENGE!!!

Well, what a cool name for a challenge site!!! Another Freaking Scrappy Challenge has a different take on challenges, and one I like, not too demanding or stessful this month, Just CREATE WITH THE COLOUR BLUE, or CREATE ABOUT SOMETHING THAT MAKES/MADE YOU BLUE.
So Blue it was, and funnily enough, I now have a few projects on the go using the colour blue!!!
Here's my entry:


It's a Mixed media Art Journal page, created with tons of stuff. After priming my pages with Gesso,  I started by slapping some paint onto my acrylic block and then stamping it onto my pages, which created some uneven gaps. In the gaps, I used some Gelatos, (thanks to my friend Vicki at Scrap matrix!!!), and loved playing with these by the way, great for blending some added colour highlighs. I then went a bit stencil crazy with the stars and a beautiful flourish. I then used some Kaszazz and Kaiser stamps with black acrylic paint and Staz On, The middle of the dream catcher started as a stencilled image, then I added a bit of black texta and filled in the outsied edge with some black lace!! Wowza, another item I've used that's been in my stash forever!! In the middle of the dream catcher I used some micro beads, clear gesso, which for some reason didn't dry clear, so I added some Perfect Pears over the top!!! The feathers were also a much held onto item in my stash!! And the beads are from a much loved broken necklace!!! Very happy to have used up some stuff! TFL!
Related Posts Plugin for WordPress, Blogger...